How to Tie the Perfect Bow

Are you like me? Whether I am wrapping presents at Christmas time or finishing off a bridal bouquet, I am always in pursuit of tying the perfect bow! You know the ones I am talking about. The are big and symmetrical. They look like they jumped out of a Martha Steward magazine or should be on a display package in a department store.
Well thankfully, Laurie from Southwick Linens, taught me the secret! And now I want to share it with you so we can all tie perfect beautiful bows! 😉
Here are the 4 quick steps to tying the perfect bow… enjoy!
STEP 1
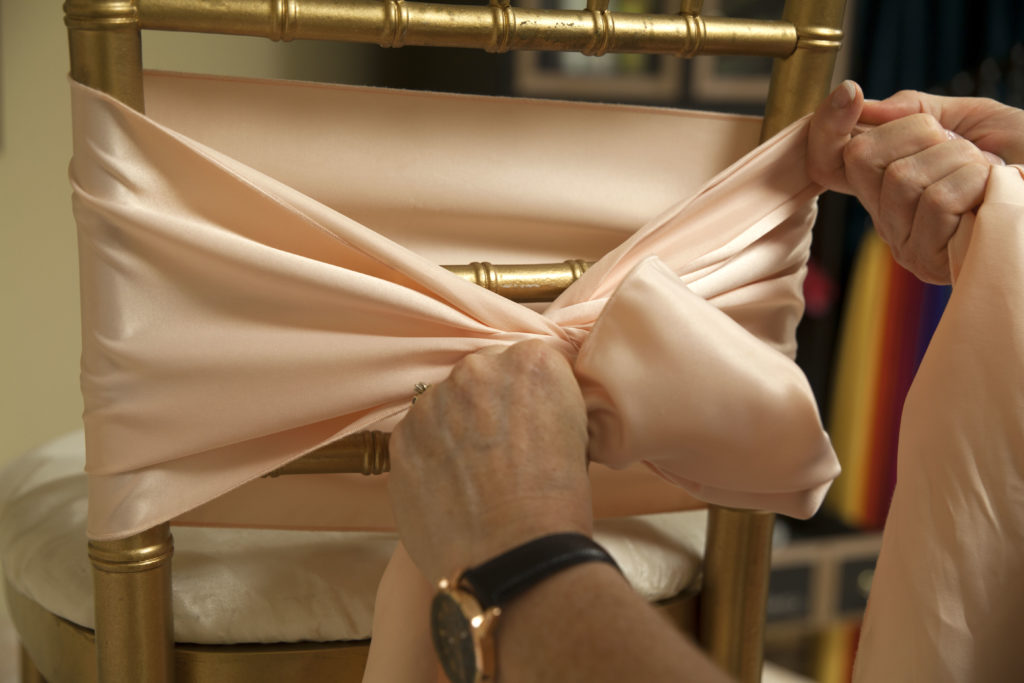
Make your first loop and hold it with your left hand. Then wrap the other ribbon tail over your loop with your right hand.
STEP 2
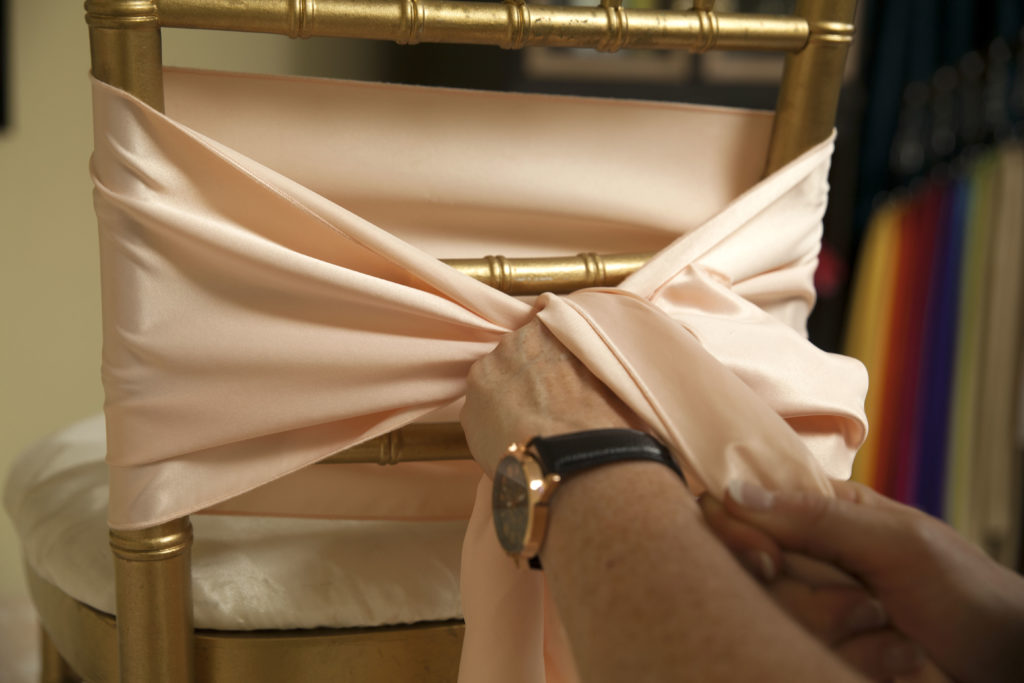
Pull your ribbon tail to the left of your loop…
STEP 3
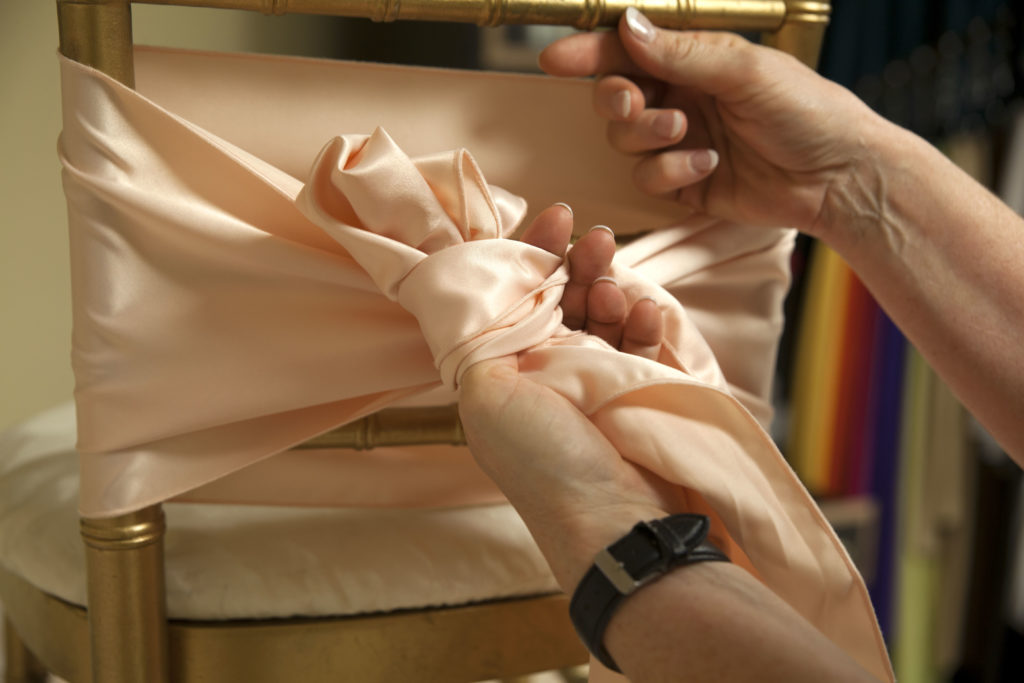
…and through the second loop.
STEP 4
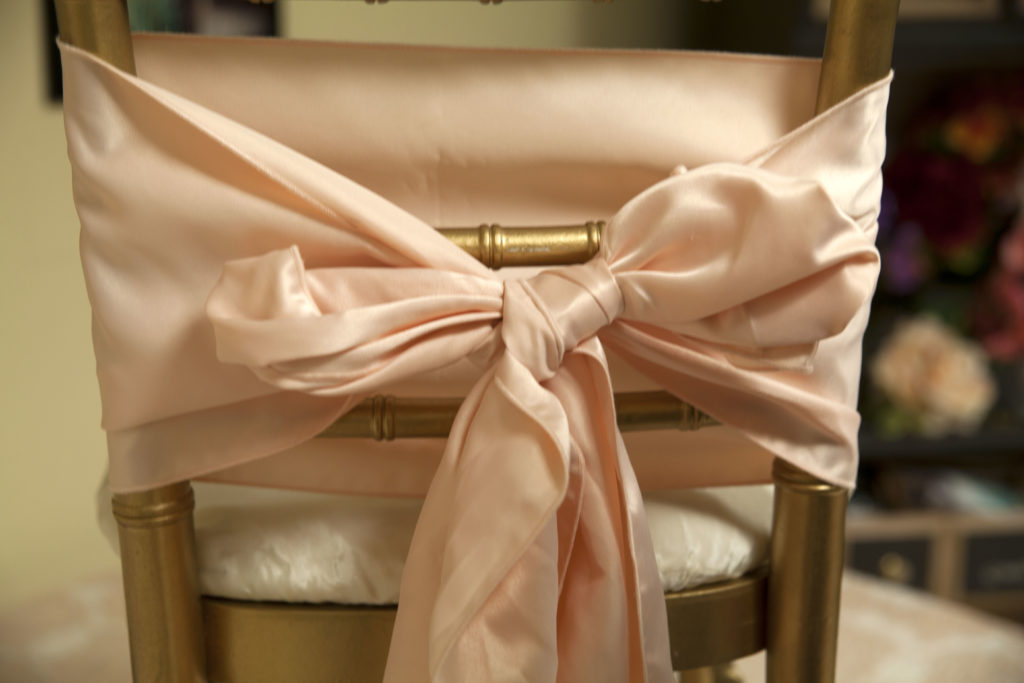
Pull both loops in opposite directions so they are an even size and on either side of the center know. Then fluff then loops so they are big and beautiful!
then….drum roll please…
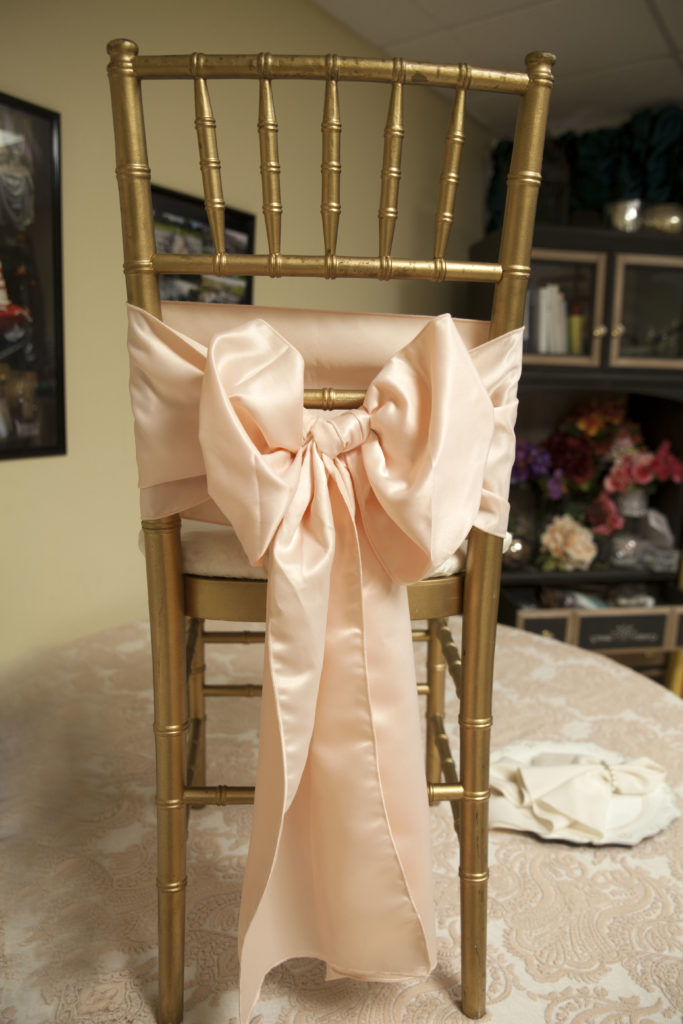
Ta dah!! I big beautiful bow! Ready to be dazzle guests and package receivers alike!
NEXT STEPS
Practice! Go grab some wired or satin ribbon and walk through the steps. It’s generally easier with a wider ribbon with a little structure. I promise, after a couple tries, you will master this technique and become a master bow-tier! 🙂
Did you find this post helpful? If so, please subscribe. Each week we will send you wedding planning tips and vendor reviews to help you create the wedding and marriage of your dreams.
All my best,
Casey

Casey Green Weddings, LLC
8700 E. Pinnacle Peak Road, Suite 114
Scottsdale, AZ 85255
602-448-8133
hello@caseygreenweddings.com


