


")

Creating a wedding seating chart may initially seem like a daunting task, but with a clear strategy, it can be a straightforward process. Here’s a step-by-step guide for newly engaged couples to organize and create their perfect wedding seating chart:
Step 1: Gather Your RSVPs
Ensure you have all the RSVPs collected before you start working on the seating chart. Knowing exactly who is coming will inform how many tables and chairs are required.
Step 2: Understand Your Venue Layout
Get a detailed floor plan from your venue, including locations for tables, dance floors, and exits. Knowing the layout is essential for effective planning and flow.
Important factors to consider include:
- Consider event flow: For example, put your welcome/guestbook/card table near the guest entrance so guest see it immediately when they arrive for the ceremony; Another tip, consider placing your bar toward the back of your cocktail and dinner reception spaces to encourage guests to enter the space, instead of placing the bar close to the entrance which could create a bottleneck.
- Table Sizes and Shapes: Note what tables you will be hosting for your reception. Round, rectangular, or square tables can each influence how conversations flow. No matter the shape – the key here is to note how many guests can comfortably fit at each table. This will come in handy soon when you start to group your guests.
- Dance Floor Placement: Ensure guests who love to dance are seated nearby. I also recommend putting the dance in the center of the reception area if possible. This allows guests who might not be able to be on the dance floor the entire night to remain seated and still feel a part of the party.
- Entrance and Exit Points & Restroom locations: Remember to account for accessibility for those who may need it.
Step 3: Categorize Your Guests
Break down your guest list into categories: family, friends, work colleagues, etc. It will make it easier to organize tables based on relationships and common interests.
Common categories might include:
- Family: Both yours and your partner’s.
- Friends: Old school buddies, college friends, co-workers.
- Acquaintances: Plus-ones, distant relatives.
Step 4: Use a Seating Chart Tool
Consider using software or an online tool to arrange seating. These tools allow you to move guests around easily and visualize the layout.
There are several digital tools available that can simplify the process:
- Online Seating Chart Makers: Websites like Aisle Planner, AllSeated or WeddingWire offer user-friendly interfaces for arranging tables and seating.
- Spreadsheets: If you prefer, create a digital spreadsheet to manually assign seats and visualize the layout.
Step 5: Start with Your VIP Tables
Begin seating key guests such as close family members and the wedding party. Typically, these are placed closest to the couple at the head table or special VIP tables.
Step 6: Group Friends and Common Guests Together
Place friends and guests with shared interests or relationships together. Aim to seat people with potential shared stories or backgrounds. Remember to try to keep it to groups of 8-10 guests per table (or the appropriate number for your specific table sizes).
Don’t forget to Consider Social Dynamics
While grouping guests, think about the dynamics between them. For instance:
- Common Interests: Seating people with similar hobbies or backgrounds can ignite lively conversations.
- Avoiding Conflict: Ensure any guests with a known history of conflict are seated separately to maintain peace.
- Varying Personalities: Balance outgoing and quieter personalities to keep the energy just right.
Remember Individual Needs
Keep in mind any guests with special needs, such as older guests or those with accessibility requirements, ensuring they have comfortable seating arrangements.
Step 7: Finalize and Review
Once your chart is populated, review it multiple times for balance and inclusivity. Ensure each table has a mix of personalities that can lead to enjoyable conversations.
Step 8: Communicate the Seating Plan Clearly
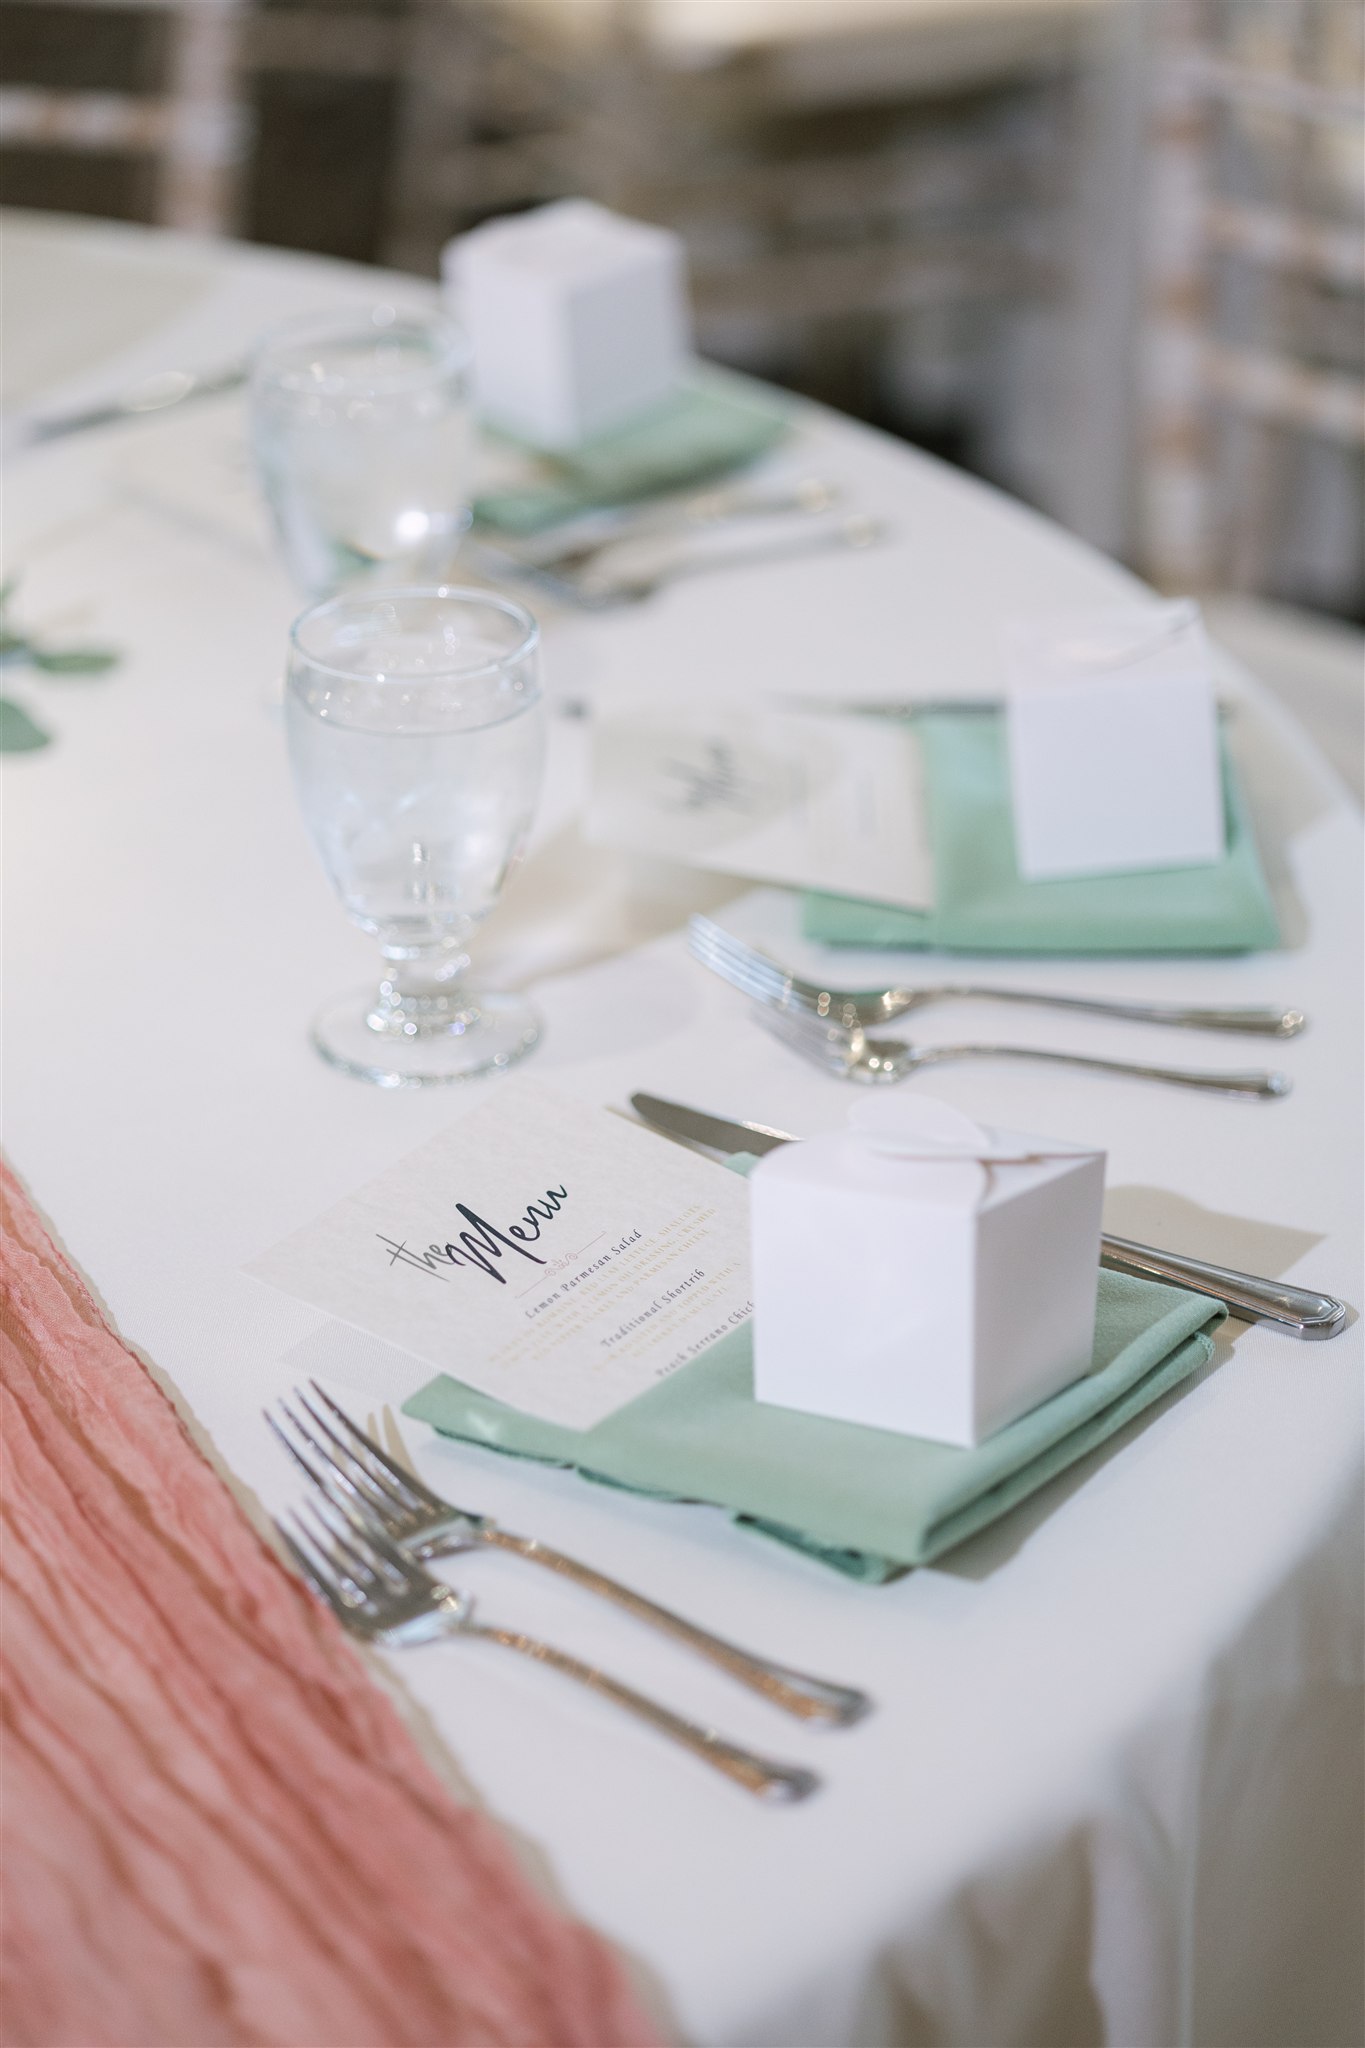
Once finalized, ensure your seating chart is clearly communicated to your guests on the wedding day through a board or escort cards. Consider printing individual place cards at each table as well. (If you are hosting a plated meal, this is MUST HAVE detail for your wedding. Don’t forget to add place cards to your wedding signage list.)
Final Thoughts
Keeping these steps in mind during your seating arrangement process will help streamline the experience and ensure a comfortable and enjoyable environment for your guests. Remember, flexibility is key, so be prepared to make adjustments as needed. If you have any further questions or need more personalized advice, feel free to ask.
All my best,
Casey
If you’d like more FREE wedding planning tips and resources, don’t forget to subscribe!

Casey Green Weddings, LLC | 2501 S Village Drive, Cottonwood, AZ 86326


+ show Comments
- Hide Comments
add a comment